
My husband and I have always considered ourselves ‘diyers’, but it has gotten real since May of this year, as we have basically begun to tear out everything in our home and begin anew. Ever since our zoned high school has ranked top 10 public school in the state of Georgia, our sole priority has been to make our teeny tiny home work for the sake of our young children. That is unless until they graduate, then we are out of the suburbs for good!
We began with the biggest task, the flooring throughout the entire home. Not sure if we were wanting to test our 14 years of marriage for its stability, or just sick of living on old carpet/hardwood/laminate flooring. We decided we would skip the middle man and tear out and install all the flooring on our own. That process is a whole other blog post that I can’t seem to bring myself to write. Long story short, save your money and hire a pro, or plan on spending 10+ 16 hour days doing it yourself. And buy kneepads, not the cheap kind, the ones with the extra layer of gel. And epsom salts…a Costco sized bag.

When it came to the staircase, we at first thought that we would install stair cap-a-treads. But after discovering our stairs were wood, and adding treads would require us to dismantle the entire staircase (not sure how you would do that with two kids living in the home—guess no one would shower for that week?!). We decided that a nice coat of paint and a stair runner would give it the look we were going for. All we (read: I) would have to figure out was HOW to make/install the runner.
After finding just the right style of runner I wanted, I had to figure out how many I would need to cover the stairs. So of course I used my super high tech method of having each of my children hold both hands and both feet on the runner as I draped it along the stairs to measure. From this exact calculation, I decided that one runner would cover 4 stairs, and with having 17 stairs, I would need 5 runners to be safe. Sometimes the easiest way looks like the silliest way of doing things, but I’m a visual person, so measuring and calculating would have just confused me beyond belief!

I then gathered all the necessary supplies for the project: staple gun, staples, needle nose pliers, scissors (for cutting the runner, yes you have to cut the runner—can prove frightening!), sharpie for coloring silver staples to black, tape measure and runners.
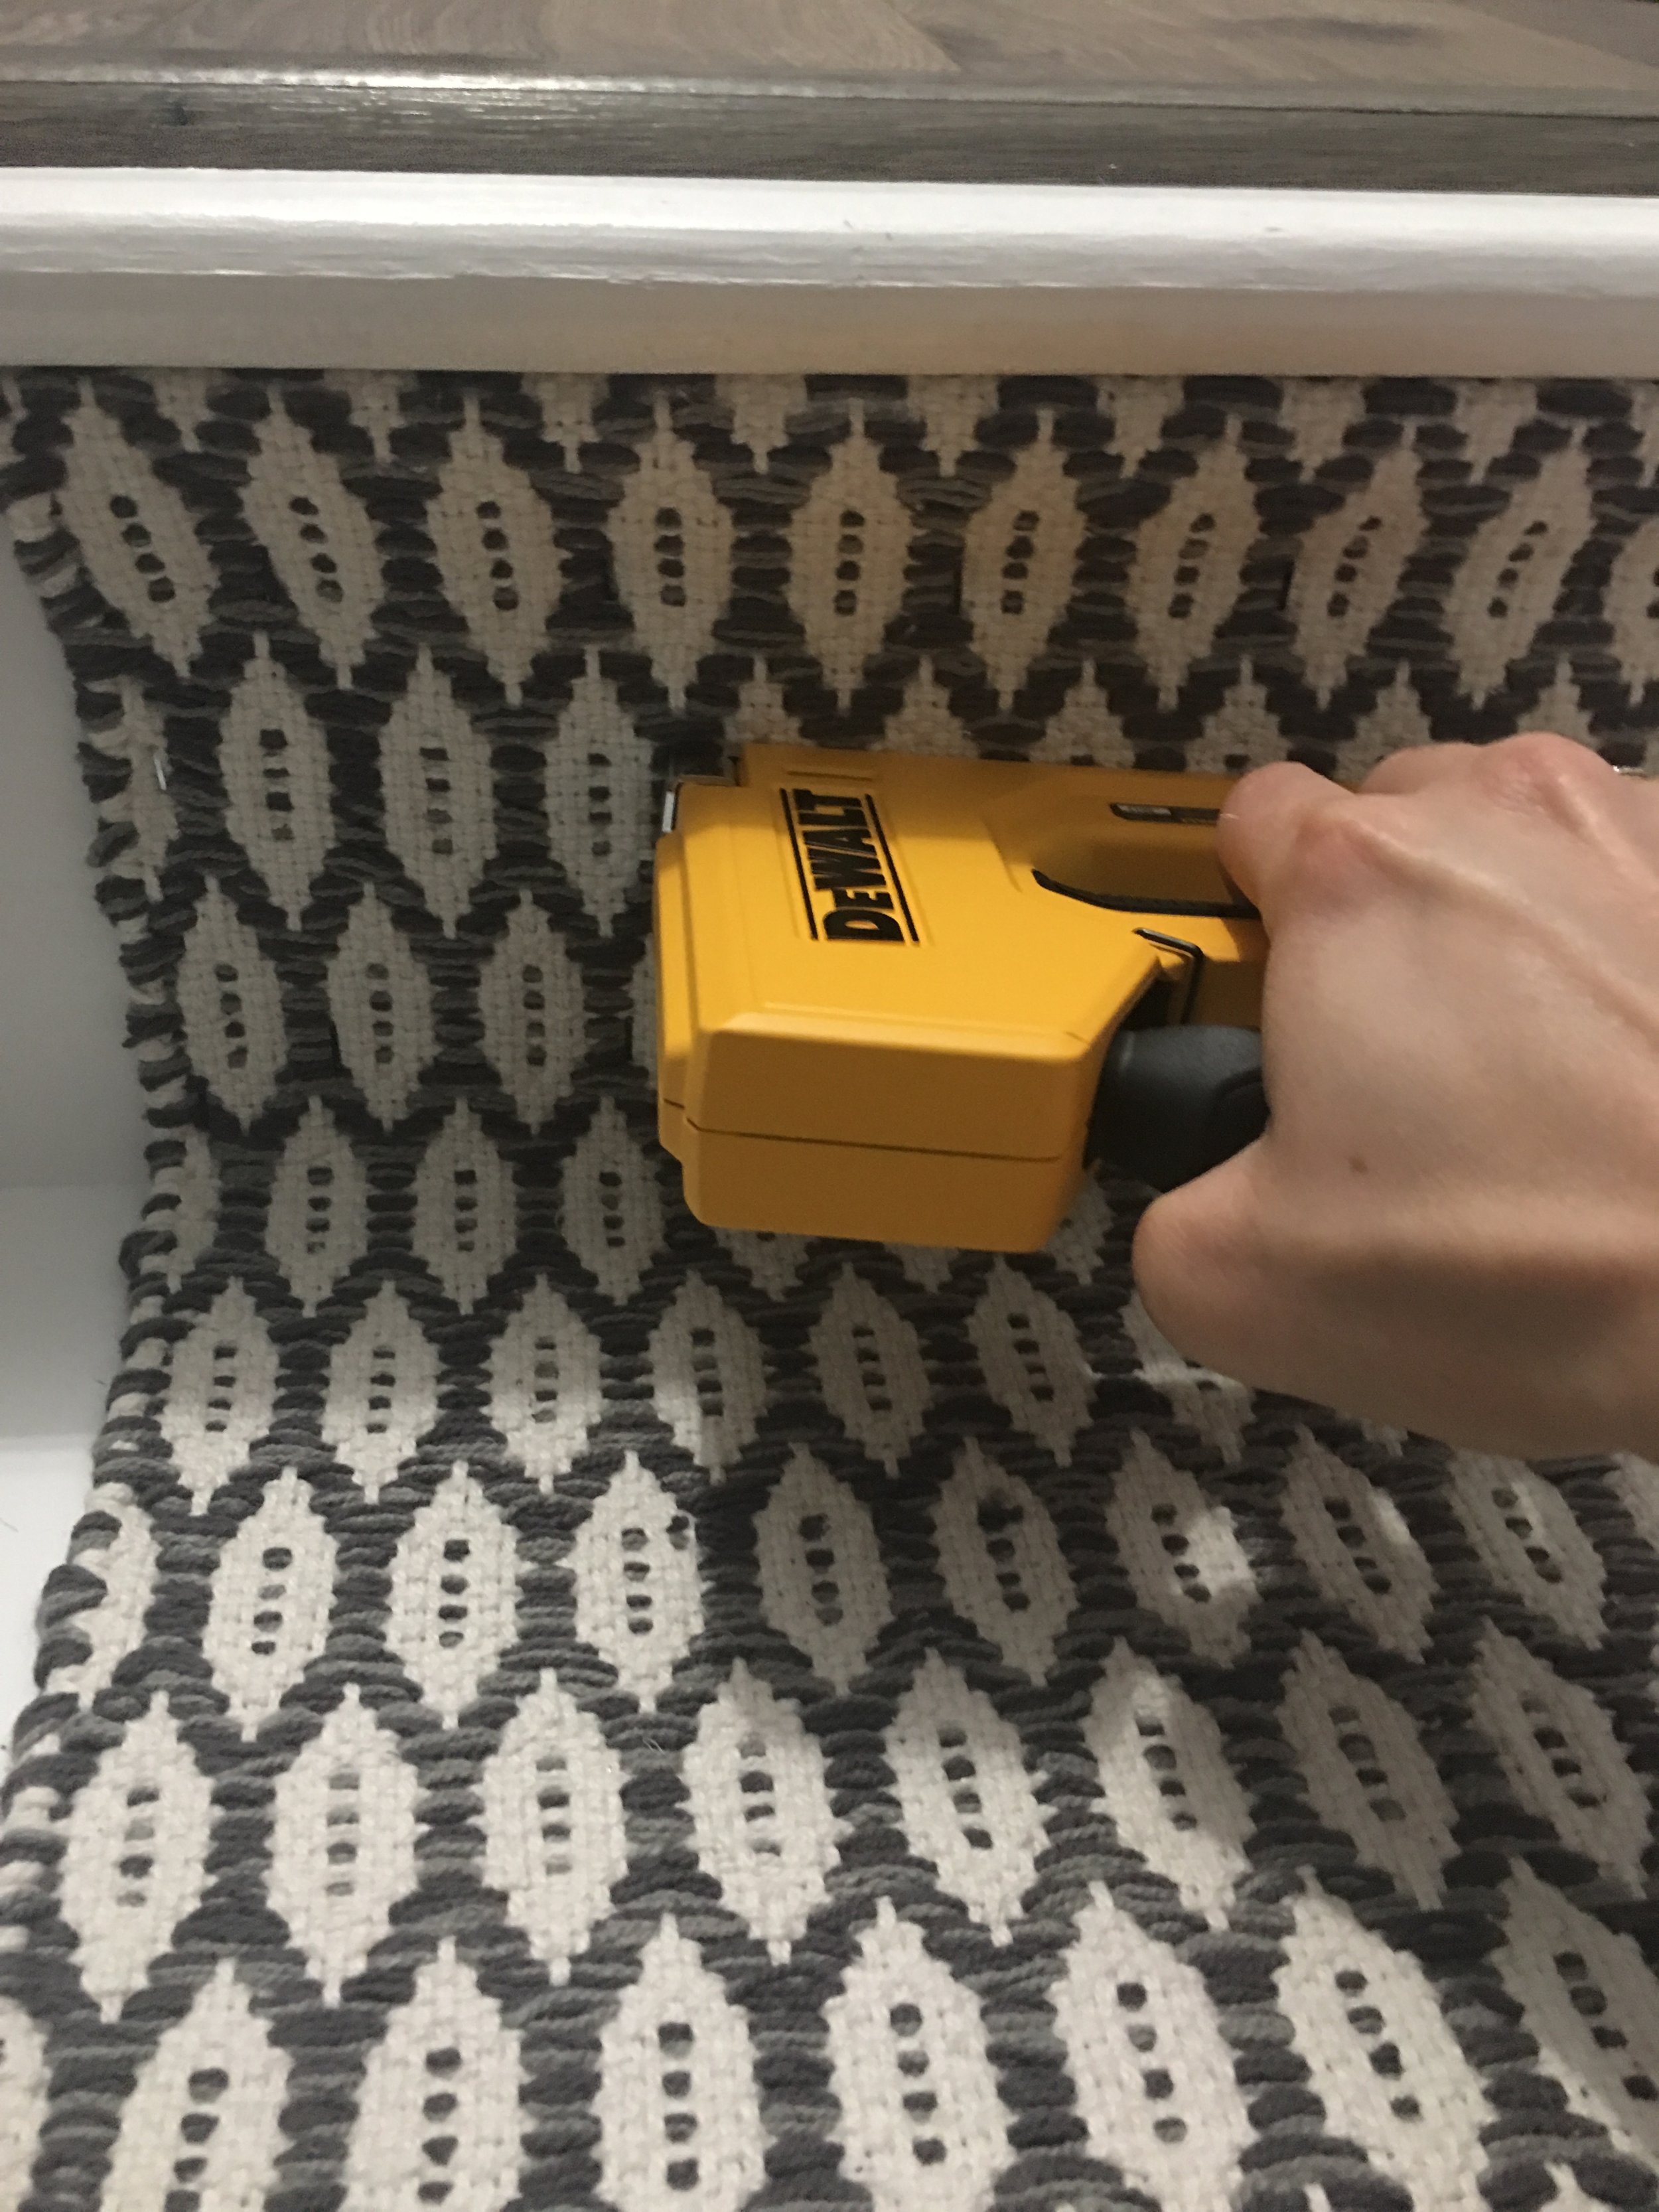
I began at the top of the stairs right underneath the first nose, folded the runner edging over and stapled it against the riser (the part of the stair that goes up) across the hole section of the runner, keeping it taught with one hand to ensure the pattern was even and there wasn’t any bunching. I added as many staples as I thought the runner could hold, especially along the sides, top, and bottom of the riser to prevent the runner from sliding. I elected to NOT add any staples to the tread (the part your foot rests on) as I didn’t want any sharp bits poking anyone, as we are a shoe-free home, and it would hurt similarly to stepping on a LEGO. No thanks. I also elected to not add any carpet padding or anti-slip pads under the runner, as I felt that with the proper placement of the staples under the nose of the stair and all along the riser, the runner would stay in place (which I’m happy to say 3+ months later, it doesn’t move a bit!).
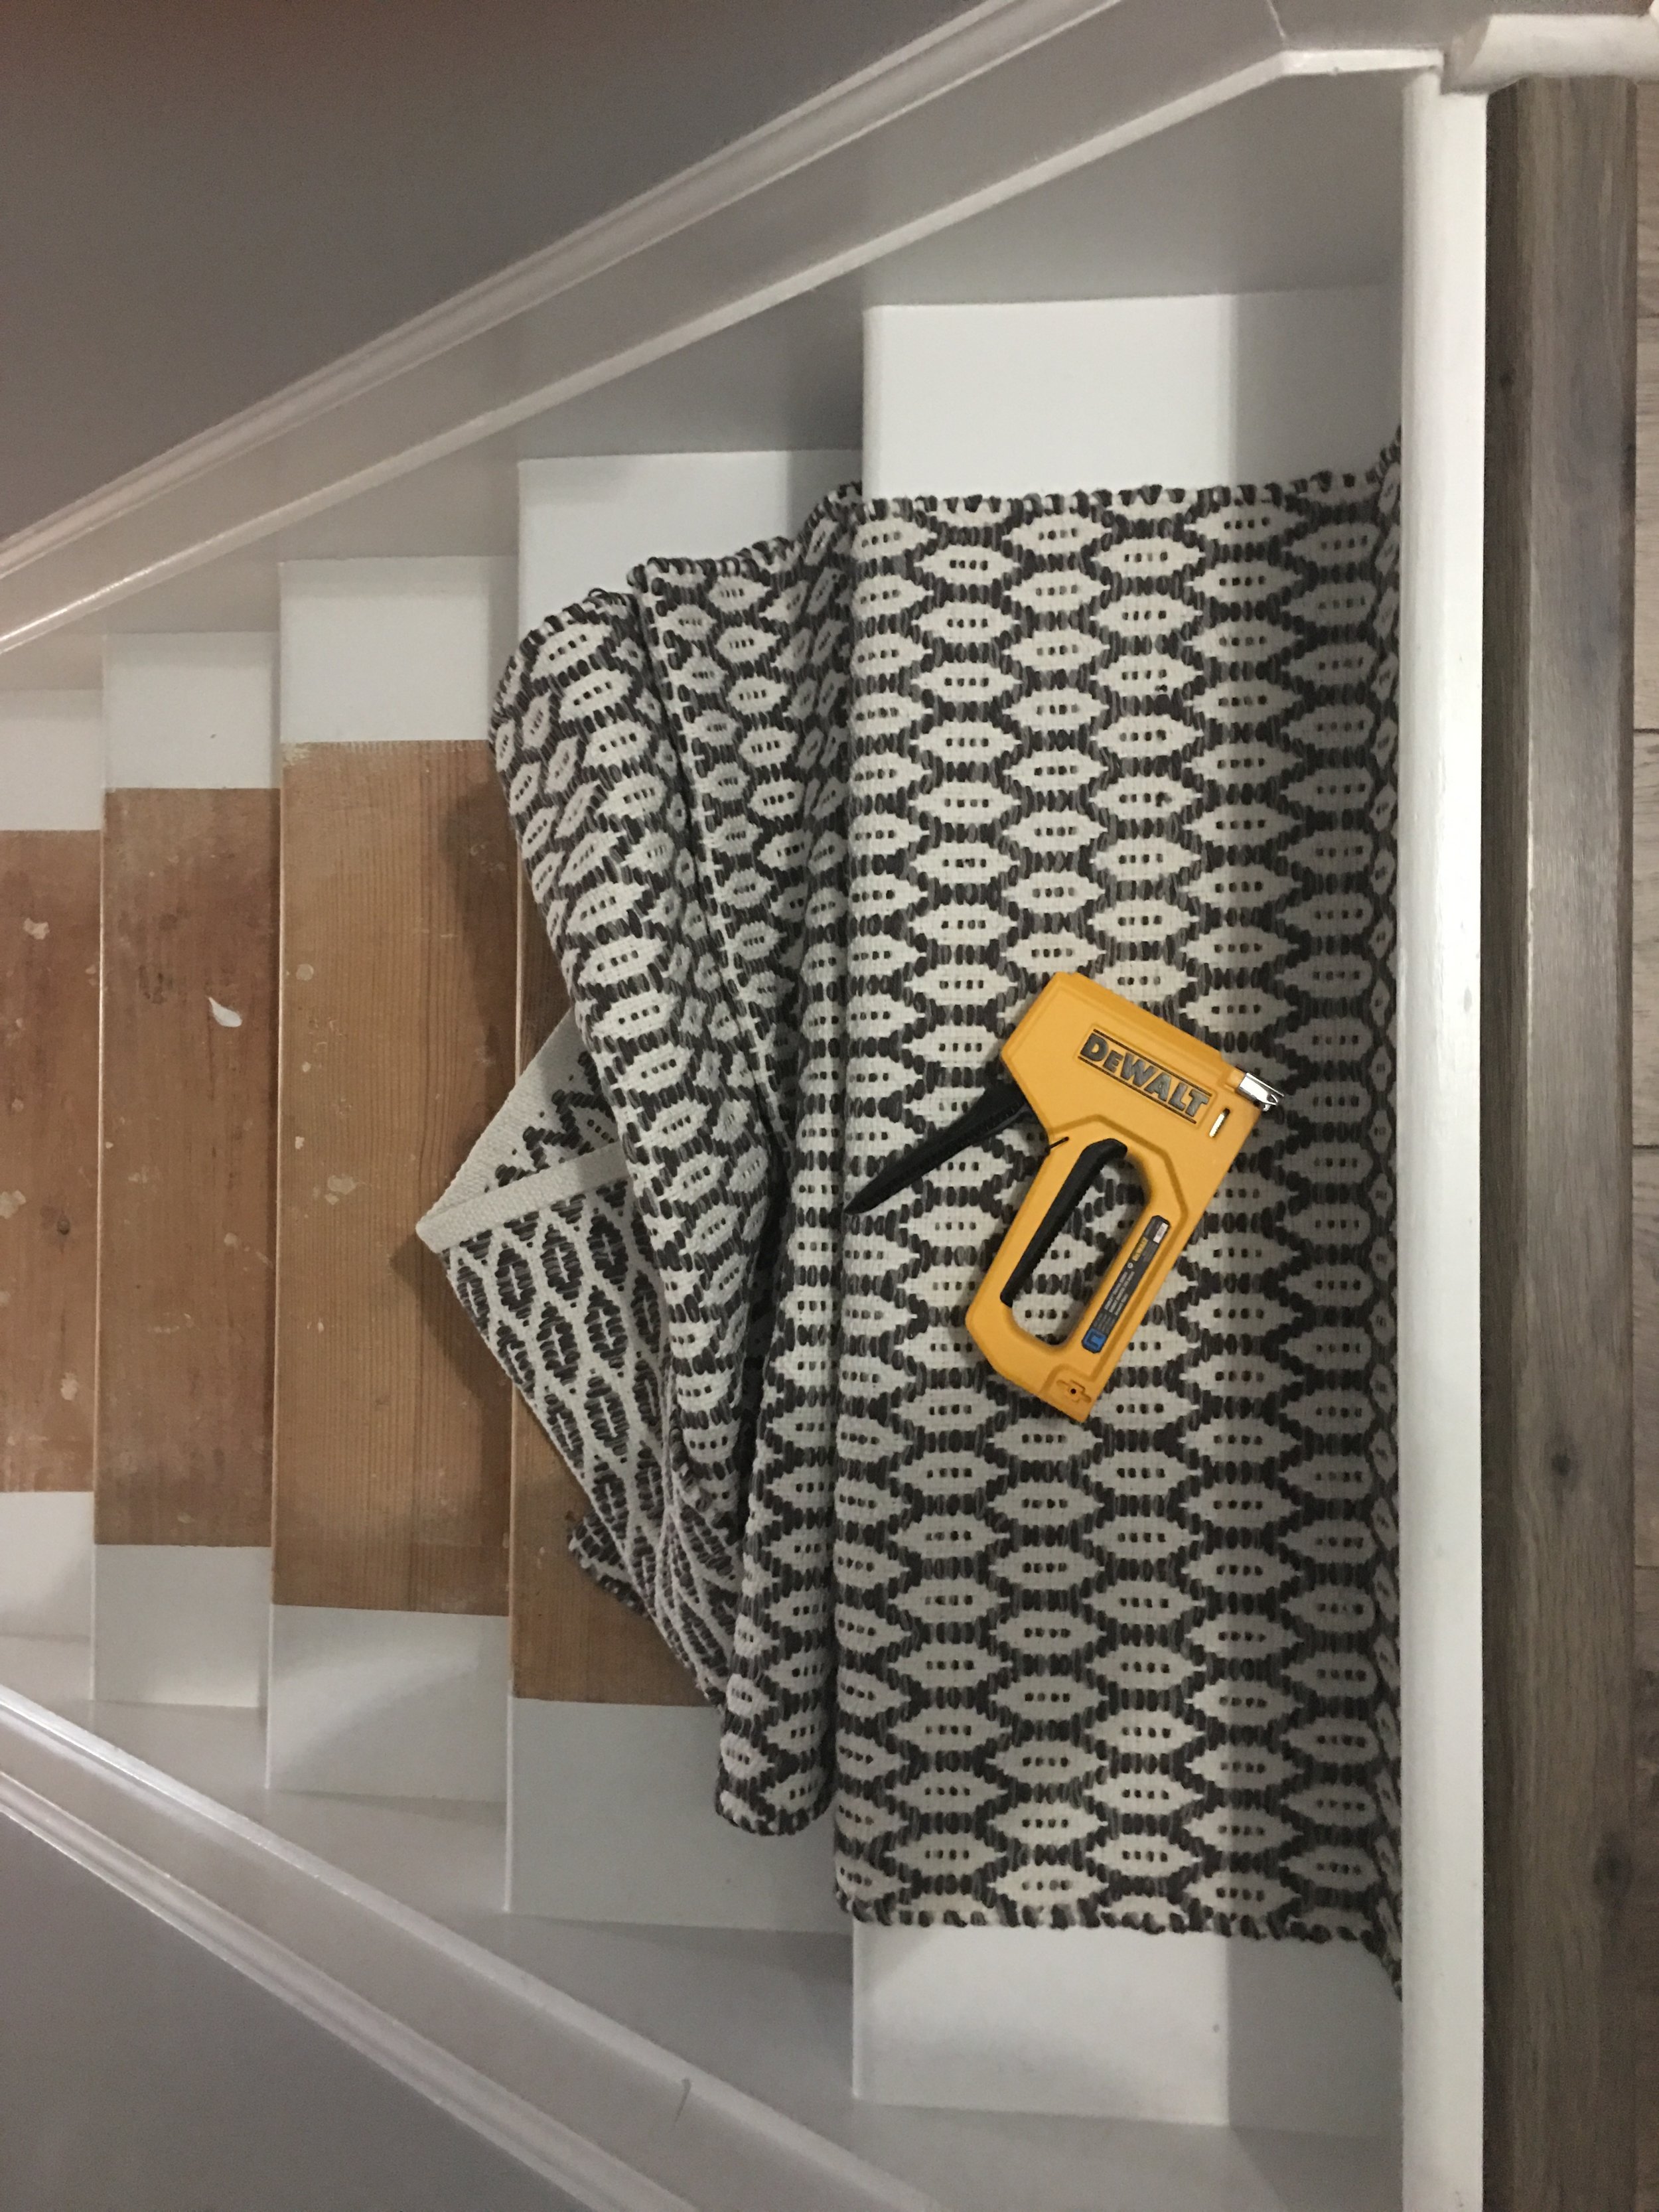
I continued on the above path, while measuring the sides of the runner from the wall to ensure a straight line, until I reached where the first runner wouldn’t fully make it over/down stair #5. To be honest, I sat with the scissors in my hand for a few minutes contemplating if there was another way of achieving my goal without hacking off a good 12+ inches of this beautiful runner, but was unable to see how. I conjured up enough courage to take the first snip, had to breathe very deeply while doing so, as the runner began to shred horribly in my hand. It was as if all the hard work that had gone into weaving the runner was out to get me. Without panic, I successfully cut the first runner to size so that I could fold it and staple it to the underneath of the nose of stair #5, thankful with every staple that the shredded mess was folded behind the crease. Phew. Typing this made me totally relive it. And it was not a moment I was hoping I would relive. Just. Don’t. Panic.


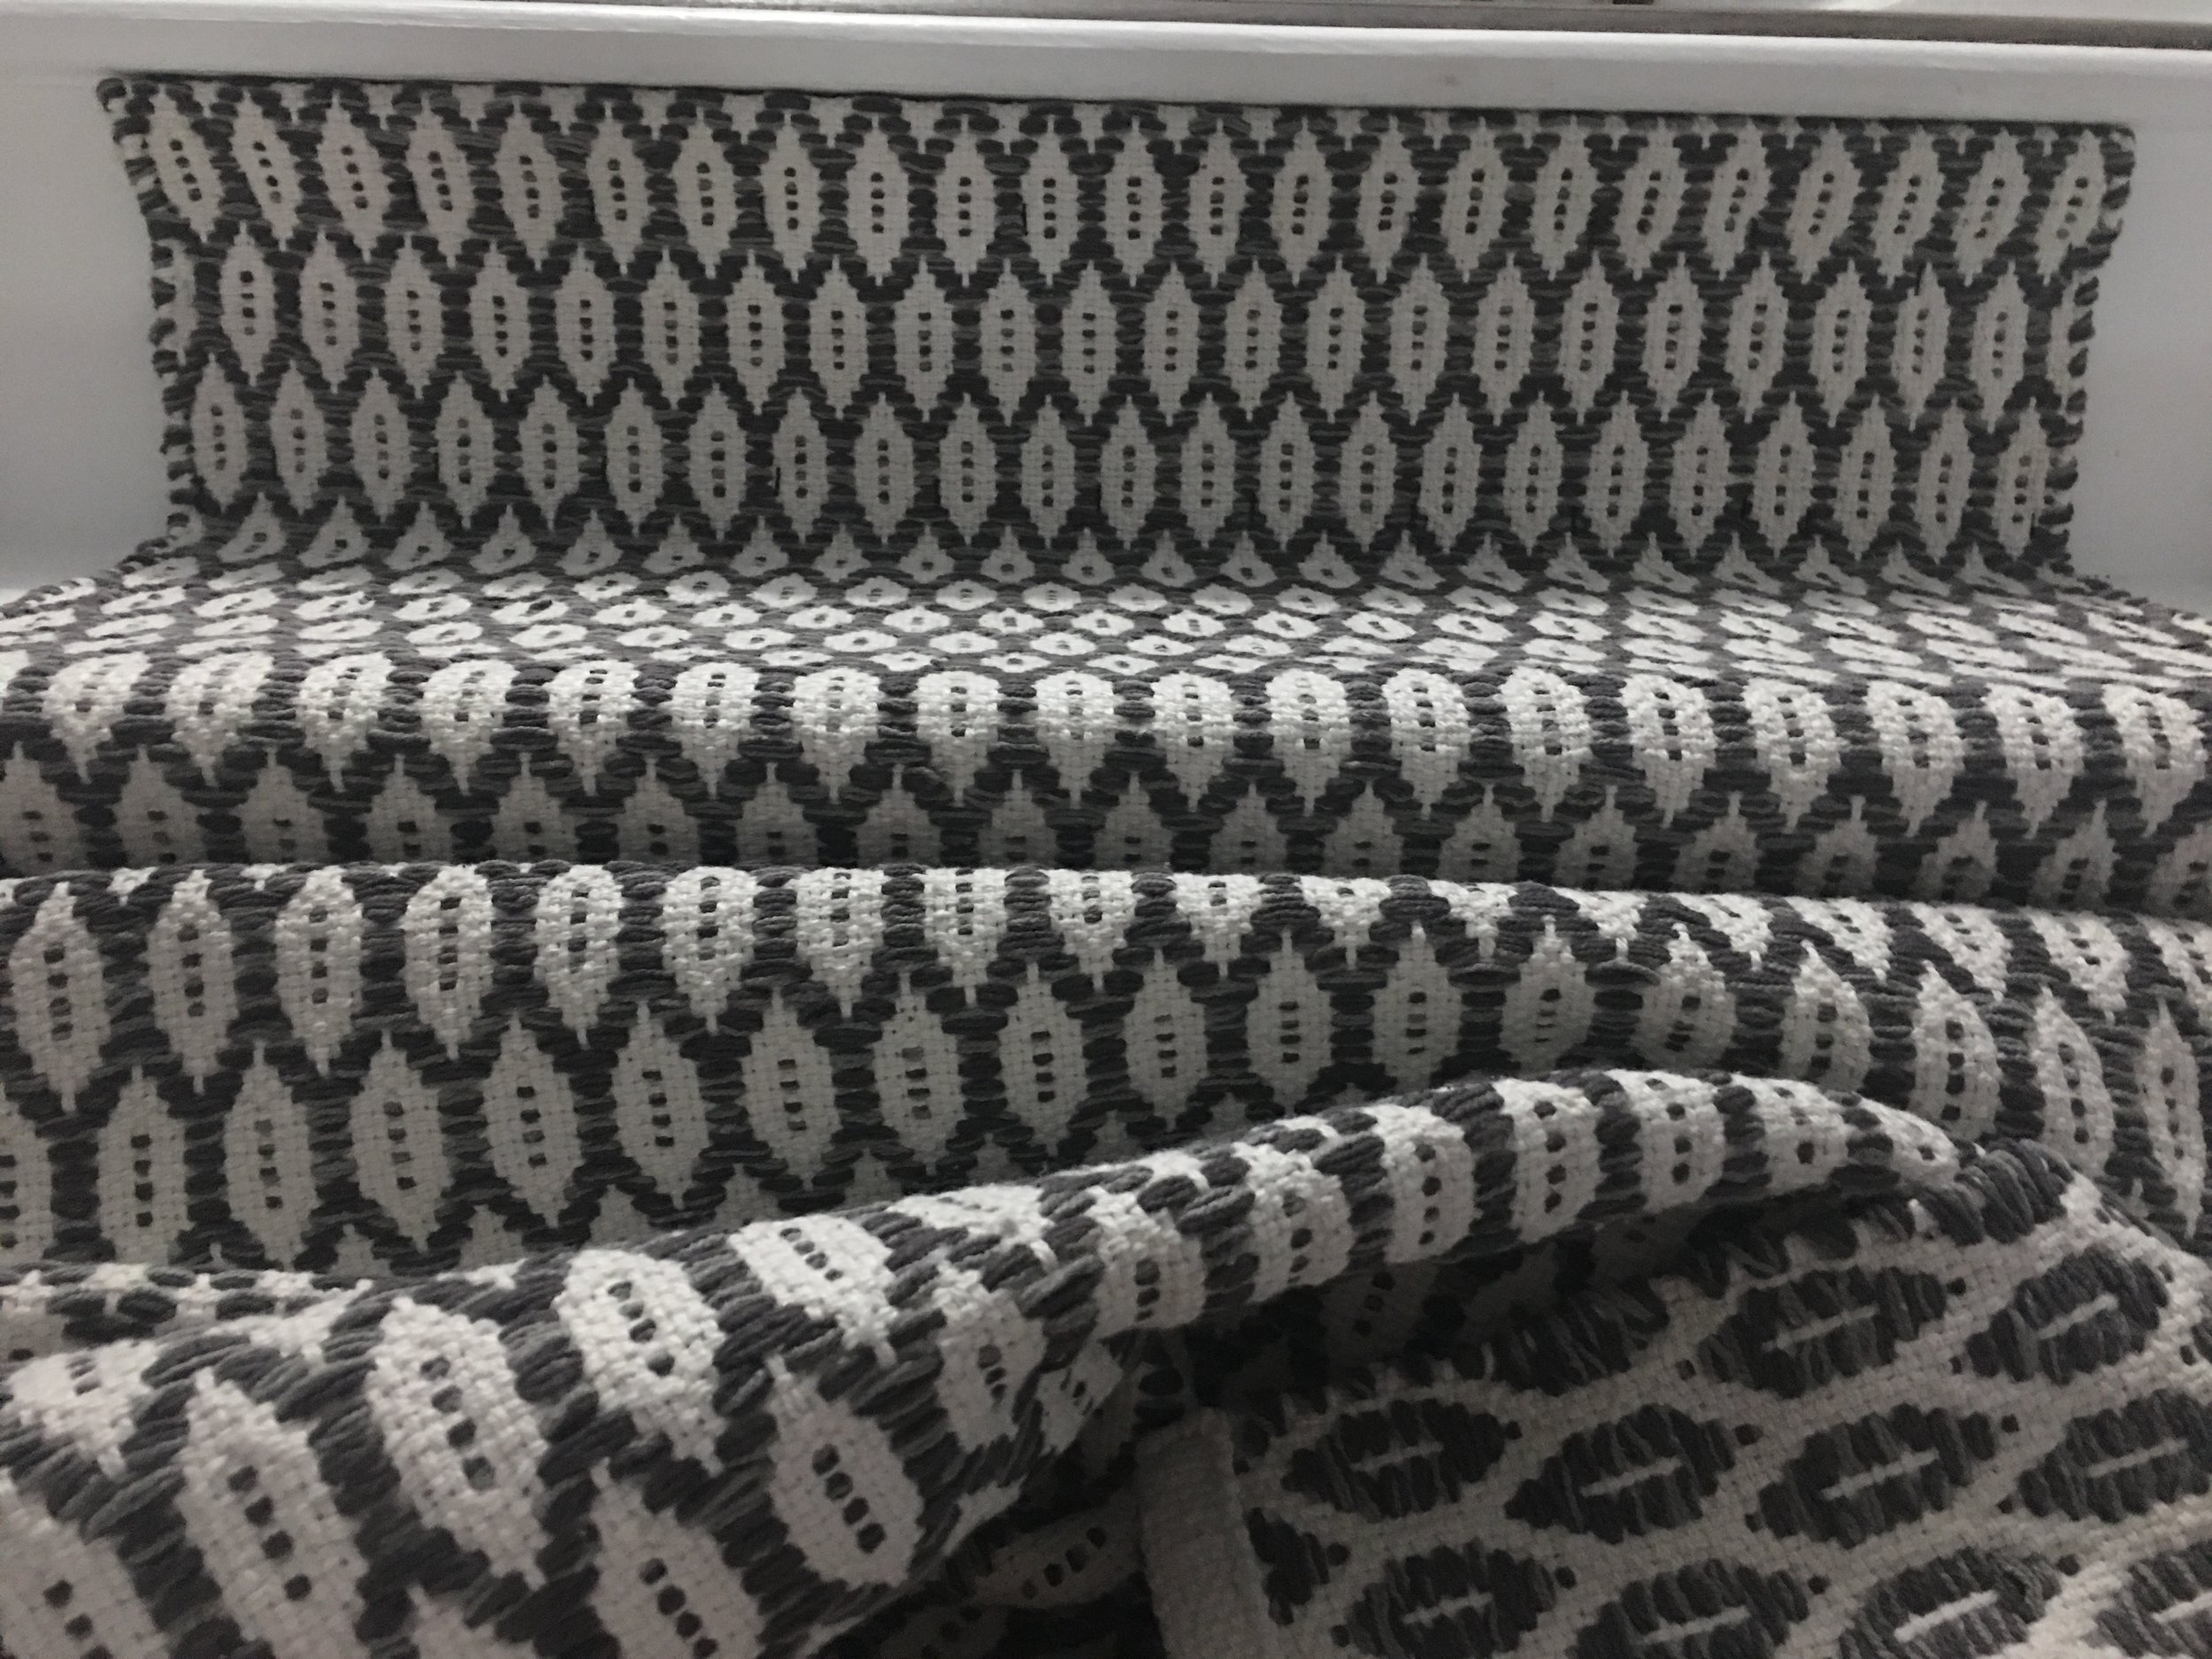
Successfully completing seeming the first two runners together made me realize that I could make this work beautifully. Fold the top of the next runner and continue stapling…and the rest was just a repeat of the above, minus the sheer panic.


The cost for this project was minimal, around $300 in total. Beats the $1000 for the stair caps we were going to purchase plus the cost of dismantling the stairs…still not sure how that would have been accomplished.
Tell us, what is a project you’d like to tackle on your own at home? New runner, crown moulding, flooring, tiling?
**Affiliate links used in this blog post**